
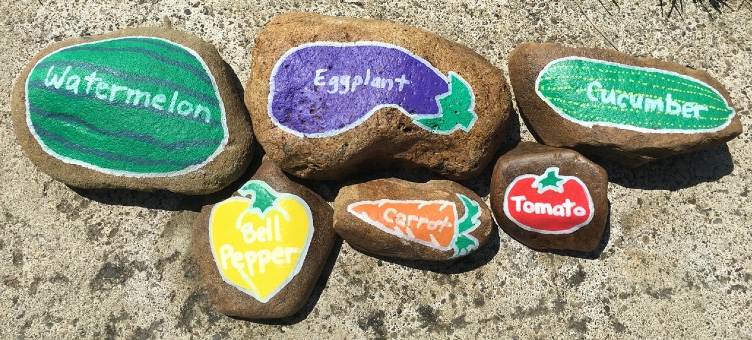
April is National Garden Month! With more time spent at home comes a renewed interest in home gardening. This painted rock garden marker craft makes for a fun and functional way to keep track of all the plants in your garden.
Supplies: 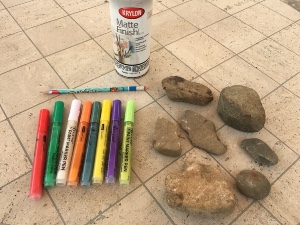
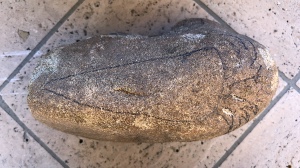
- rocks – the smoother the surface the better, size will vary according to preference and availability, pick rocks that fit the general shape of the plants in your garden if possible
- pencil
- acrylic paints & paintbrush (or acrylic paint markers) - in colors that match your plants
- clear acrylic spray
Instructions: **Check out this time lapse video of me making DIY Garden Markers!**
- Gather all your materials.
-
Assign the rocks you will be using for each plant’s garden marker.
-
Use your pencil to draw the outlines of each plant on your rocks.
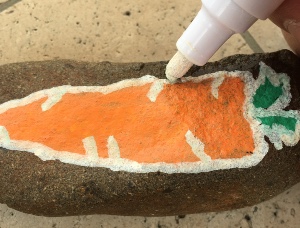
- With your paint and paintbrush (or paint marker), start by painting the main part of the plant (for example, the orange part of the carrot or the green part of the watermelon). Allow to dry (time varies depending on the paint).
- Paint the stem of the plant in the shade of green or brown of your choice. Allow to dry.
- Paint any accent colors on top of the main body of the plant (for example, the stripes on the watermelon or the dotted lines on the cucumber). Allow to dry.
-
Use the white paint to outline each part of the plant.
- Optionally, use the white paint to label the name of each plant.
- Repeat the painting process (steps 4-8) for each garden marker.
- Use the appropriate paints to complete any necessary retouching on your garden markers.
- When you are happy with your rocks and the paint is completely dry, place them on a piece of cardboard or newspaper and use clear acrylic spray to seal the paint on your rocks. Allow to dry and spray a second layer to protect your hard work. Allow to dry.
- Finally, place your beautiful new garden markers in the appropriate spots in your garden.
Some tips before you start:
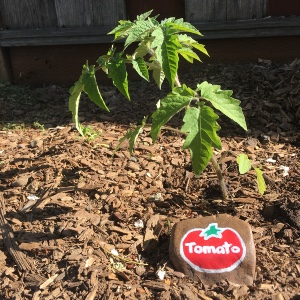
- Check out the original craft tutorial on the West Valley Moms Blog for other samples of river rock garden markers (zucchini, corn, beans, jalapeño, squash) and more detailed photos of the garden markers I re-created (tomato, watermelon, eggplant, carrot, bell pepper, cucumber).
- While the original crafter went down to the nearest river to gather rocks, I had to improvise and simply searched the yard for some rocks that would work. Remember, the larger and smoother the rock, the easier the decorating process. If foraging is not an option, river rocks are available for purchase at craft stores and home improvement/garden supply stores.
- Rather than paints and a paintbrush, I used some acrylic paint markers that I had from a previous craft that work well for rock painting.
- Before sealing my rocks with the clear acrylic spray, I went back and did some repainting of the rocks that I thought were sloppy or needed some touching up. The yellow paint in particular needed more layers of paint than the others to achieve an even, solid color. The white paint used for outlining/writing can be easily painted over which makes for simple fixes.
- The garden markers do not have to be perfect. After all, the rocks will be sitting outside in the dirt of a garden and exposed to the elements.
Here is a list of Gardening eBooks that may interest garden novices and experts alike.
Gardens come in all shapes and sizes. Have the garden you always wanted that fits your space and lifestyle with a little help from these Gardening eBooks.

